Buy Baby’s Patterned leather shoes + great price
In this blog, you learn how to design and make the best leather shoes for your baby with the help of a pattern
Leather baby shoes are my go-to item to make as a baby gift or for baby showers
I can stitch a pair in about 30 minutes, so I can always find time to put some together
About ten years ago, I began creating leather baby shoes for my own children
To locate the ideal leather baby shoe pattern, I evaluated a variety of designs and patterns on each of my infants
I combined everything to make the best leather baby shoe pattern! Which type of leather or faux leather usually works for leather baby shoes? Real leather with a thickness of 1
2–1
6 mm and a weight of 3–4 oz per square foot is my preferred material to use for leather baby shoes
This medium to light leather is tough and durable, works well for machine sewing, and is soft enough for little ones’ feet to feel at ease
I’ve also used faux leather fabric that was the same weight and thickness as leather that I’ve discovered in fabric stores
It’s equally simple to find, easy to sew, and tough and resilient
Faux leather is only slightly less breathable for baby feet, which is the only drawback for me
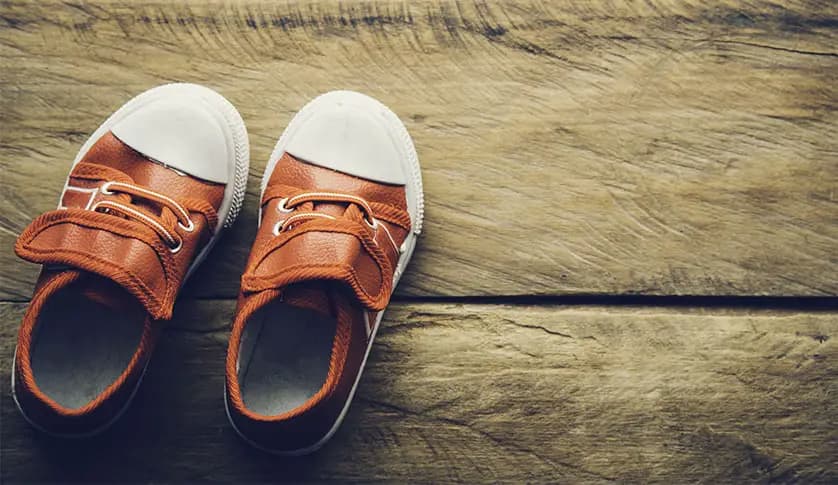
Leather is simple to sketch pattern pieces on and simple to cut with scissors
Leather cannot be attached with pins, thus clips must be used to hold the parts together
You require a thicker sewing machine needle, such as a 100/16 or a leather sewing machine needle
Even if you rip the fabric to correct a mistake, sewing on leather leaves holes that won’t ever disappear
Put a piece of Scotch tape (sticky side up onto the bottom of the foot) on either side of the foot if the leather is having trouble passing through the sewing machine under the foot
This will make the surface for the leather to move beneath slicker
What exactly is a PDF sewing pattern? A sewing pattern that can be printed on numerous pieces of letter or A4 size paper is known as a PDF pattern
I adore using PDF sewing patterns because I can always print another copy if the original is damaged or if my kids or I change sizes
I have a digital copy, therefore it won’t ever be lost or stolen! How are PDF sewing patterns used? On a PC, click the print button after opening the PDF
Make sure the scaling is set to 100% or no scaling when printing to ensure that the pattern prints at the correct size
The pattern can be taped together after printing to create the full size
The pattern can then be traced for specific sizes or cut out for each size needed so that it can be used repeatedly
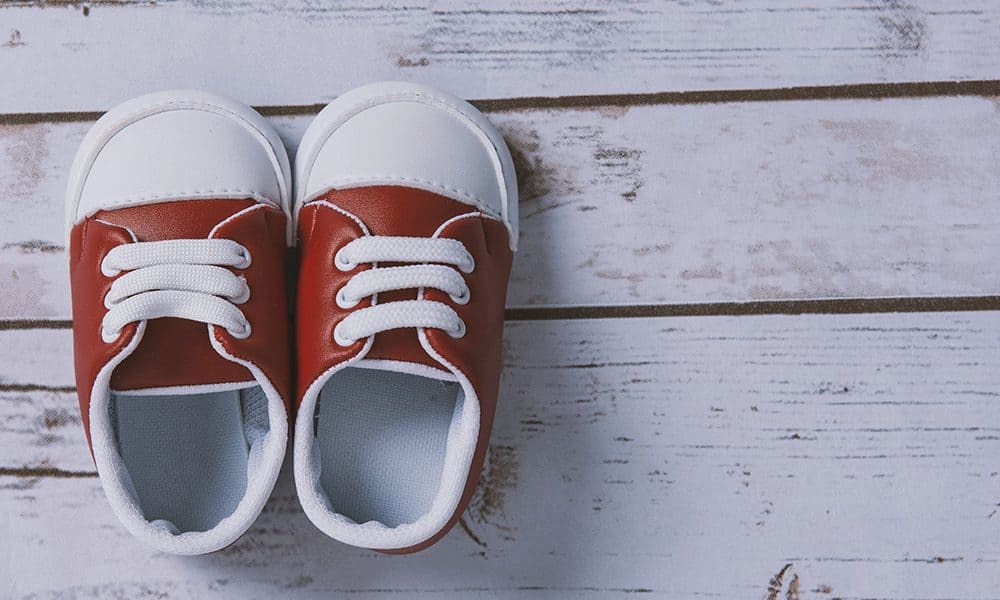
leather baby shoes pattern
You can make your own pair of baby leather shoes and baby slippers by drawing inspiration from an incredible baby shoe pattern
Every one of these can be prepared with little effort and in a short amount of time
When you are a mother, you naturally want the very best for your children and newborns
You want nothing but the absolute best for them
And nothing could possibly be cuter than a pair of baby leather shoes to cover their teeny-tiny and delicate feet
Making baby leather shoes with your own hands is not only an amazing experience, but it is also a way to express your love and feelings for your child in a way that is meaningful to both of you
While it is true that you can purchase various types of tiny baby shoes from the market, making baby leather shoes with your own hands is a more meaningful and meaningful experience
If you are someone who enjoys working with their own hands and participating in do-it-yourself projects, then you should get ready because there is an incredible list for you
If you follow these suggestions, you will be able to create your own pair of baby leather shoes using DIY techniques
Because of this, I have compiled a list of 38 do-it-yourself baby leather shoe tutorials and ideas that will definitely inspire you to build baby leather shoes with your own two hands
All of these suggestions are not only straightforward, doable, and economical, but they also need little effort on your part to implement
Not only will you save money, but you will also save time
The fact that moms, grandmothers, and aunts have all contributed to the creation of these do-it-yourself baby leather shoes is perhaps the most impressive aspect of them all
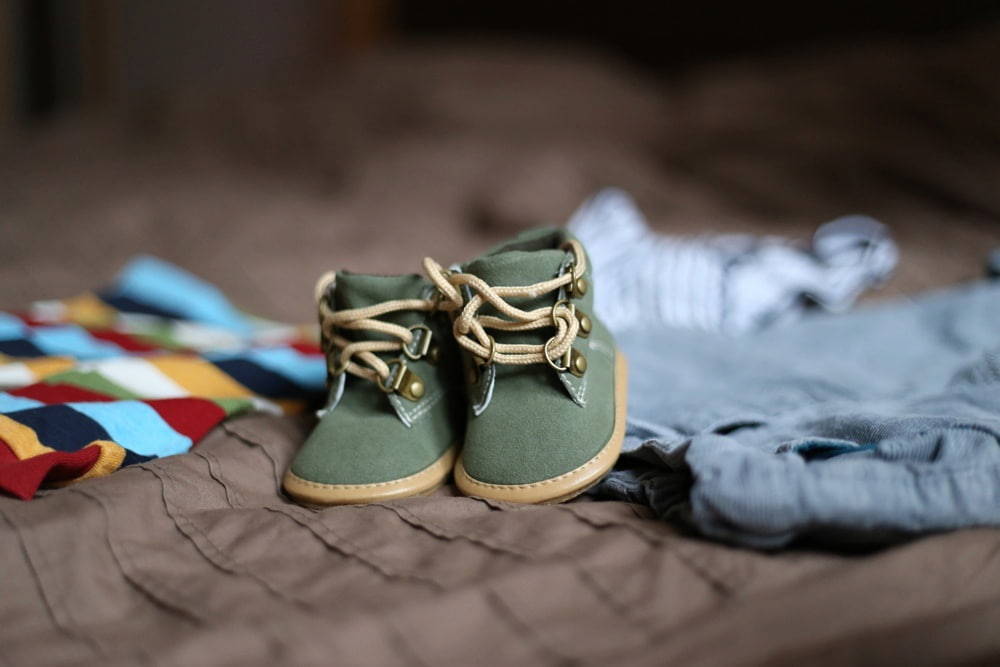
There is no substitute for them because of their incalculable and immeasurable worth, which is far higher than the value of baby leather shoes purchased from a store
In this extensive list of baby leather shoes that you can make yourself, we have included a wide variety of baby leather shoe designs and styles, each of which is distinctive from the others, so that your child can enjoy all of the baby leather shoes designs and styles available
I have included everything from adorable baby shoes to barefoot baby sandals for the warmer days of summer in this collection of children’s footwear
When it comes to the components, you could make your own pair of baby shoes out of materials such as leather or felt fabrics
Because you are using this material, the protection afforded to your baby’s feet will be both more extensive and more comfortable
I have compiled this list of tutorials and links to additional information and instructions for the purpose of making it as convenient as possible for you
In that case, I ask that you scroll down and have a look at the gallery that comes next
I have high hopes that you will find something to adore about each of them, and that you will be excited to test them out in your own environment
Baby Boots with Fringes: If you follow this simple do-it-yourself idea, you will be able to create some adorable baby boots with fringes for your little girl
The construction of it is extremely straightforward, and it will be an excellent complement to any outfit; the size of these boots can be adjusted with relative ease, so you can choose the setting that best suits your needs
You can construct these booties out of faux leather if you like; doing so will make them more comfortable to wear while dancing as well as for long periods of the day
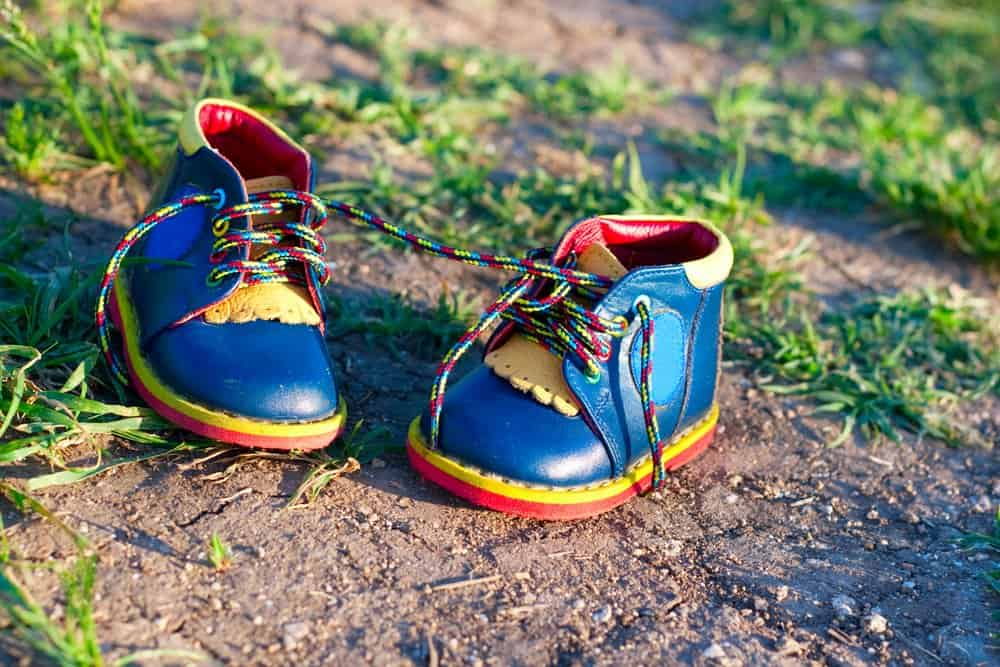
Baby Bow Boots: Baby Bow Boots: You should try on this set of Baby Bow Boots because they are constructed from genuine leather and faux fur
This pair is made more pretty and fashionable by the use of a fur faux, and the use of a beautiful bow on the front of the pair makes it look even more fashionable
As a result, you will be able to acquire a pair of baby booties that are both very affordable and inexpensive, in addition to being of complete quality, which will enable you to keep your baby warmer and cozier, as well as more comfortable and relaxed while they are walking on the floors
Leather Baby Shoes: Leather Baby Shoes: The fact that these shoes are crafted from leather and feature an admirable shaping makes them an excellent choice for the chilly winter months
If you want to add a touch of glitz and beauty to your child’s appearance, these adorable shoes are the perfect accessory to pair with any of your baby’s everyday outfits
You could make three or four pairs of leather shoes, each with a unique color and pattern, to give to the new member of your family who will be joining you during the winter
You won’t have much luck finding leather shoes designed specifically for infants on the market, which is why it’s a good idea to learn how to make beautiful leather shoes for your baby’s feet using only your hands and some leather scraps
You are free to modify them into any design and size in accordance with your requirements; in addition, you are free to add adorable decorations to them in order to make them look more appealing
It is my opinion that you should make your handmade booties out of black leather because this color will contribute to the overall allure of the shoes
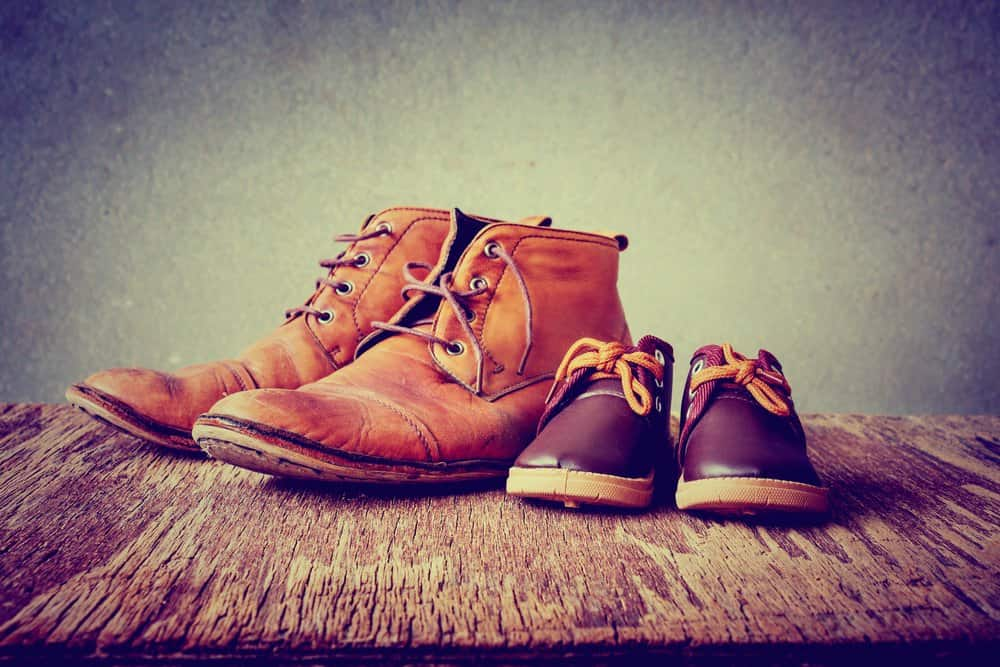
make leather baby shoes
If recently you have decided to make leather shoes for your baby, you will find this part helpful
Step 1: Select a Piece of Leather Since this project will be made of leather, there are a few factors to take into account when selecting a suitable piece
The leather should be thin (I wouldn’t try anything more than 3 oz leather), pliable (not firm), and at least the size of letter paper to accommodate the entire pattern
For this project, I wanted brightly colored leather, but I only needed a tiny amount, so I purchased it at a craft shop
Alternatively, you might be able to find scrap leather at a leather shop; this should also work
The second step is to cut the leather
I used a laser cutter for my pieces, but I have also attempted it using nice leather scissors, so it can be done in that manner as well
I made the decision to use the laser cutter because my existing set of scissors is bulky and challenging to use for making little cuts
Additionally, you may laser engrave the sole with anything you choose (in my case, the emblem of my business—hey, free advertisement!)
However, you may simply cut out the pattern pieces, trace them onto your leather, and then start cutting if a laser cutter is not an option
I should add that I have marked holes for snaps and rivets on the top areas of the pattern
You don’t need to punch those holes out; you can simply use them as a suggestion for where to place the strap that crosses
In fact, after using snaps and rivets, I now believe that sewing one side and using velcro on the other would have been preferable
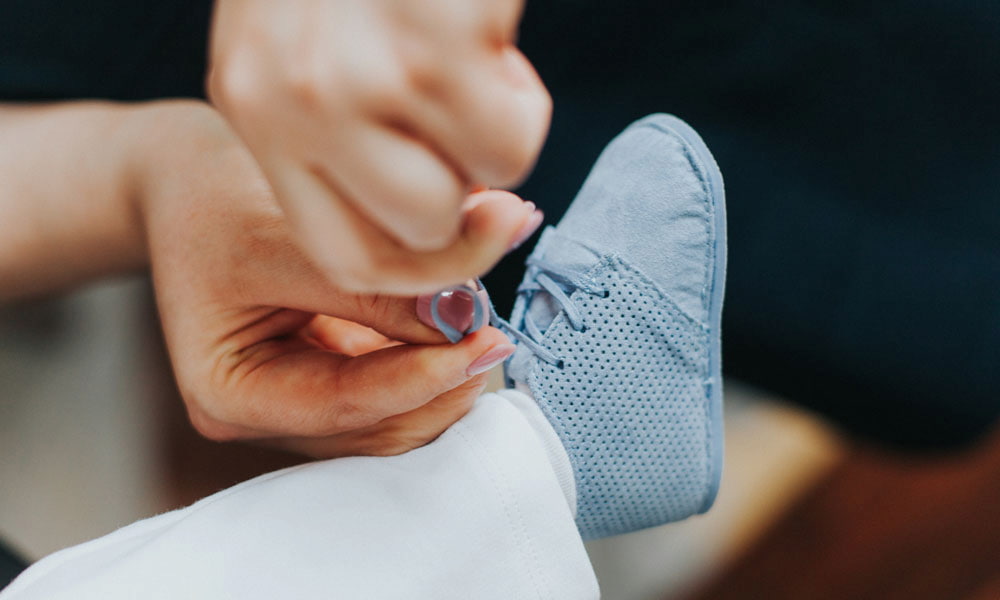
The second thing I should point out is that there is no specific size for the shoes in the pattern (the cat really does not like wearing shoes, and I didn’t have a baby lying around to test them out on)
You should print a copy and determine whether you want to scale up or down before I generally based the size on other patterns I looked at
Using the temporary double-sided tape, stitch the ends of the shoe tops in step three
Remove the bottom side of each top, then join the good sides with the temporary tape (you will remove it after stitching)
I was worried that contact cement would be too permanent, but I’ve seen folks use it here and then peel things apart
Take it to your sewing machine after you’ve attached it
It’s important to note that I’m new to machine stitching, so I don’t have much guidance to offer
Given that you only get one chance at leather stitching, the hand crank enables me to work slowly
I backstitched both ends before tying them off and sewing my seam approximately 6mm (about a 1/4″) from the edge
I then separated the taped ends and took off the temporary tape
Step 4 is to Join the Tops to the Soles by Sewing: The top and sole must then be stitched together
Since you’ll be turning it inside out after stitching, you’ll once again sew the pieces together with their right sides facing out
You must use the contact cement this time
It’s important to bear in mind that you will need to make some adjustments when you glue the edges since you are taking two flat, one-dimensional components and making them three-dimensional
